
You maybe wondering how to post a bank receipt in business central, it is using the cash receipt journal.
What is a cash receipt journal?
This journal is used to process any income, it is not only used for bank receipts it can be used to post income to any account in business central.
For example you maybe required to pop a payment on a customer ledger but post the other side to another G/L Account you can do this here.
How to do this;
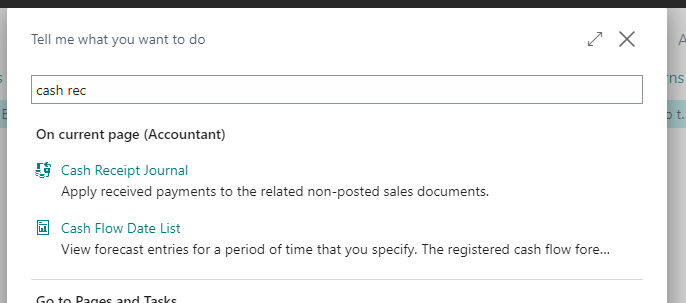
Navigate to Cash Receipt Journal front the search bar.
It can also be found under cash management;

This is on the role centre for Business Manager or Accountant.
Like other journals you can create a journal batch.
A journal batch in business central is basically a journal template so that it saves time if you are posting regular journals.
E.g. for a cash receipt journal you may want to set up a template to regularly post PDQ card income.
You can use the default batch if you do not wish to create a journal batch.
The Journal fields
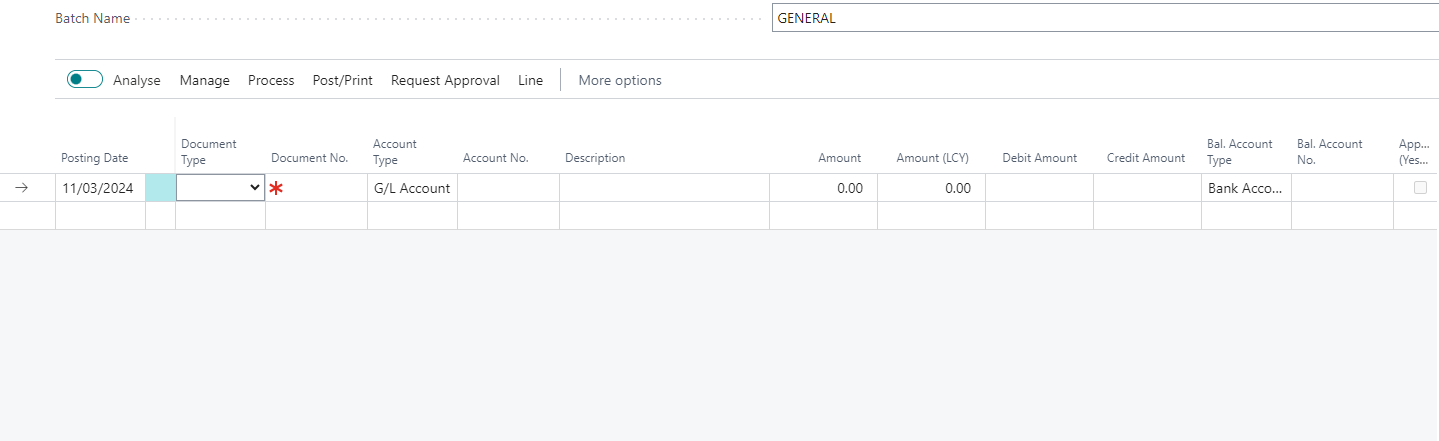
Please note your layout may look different and you can personal and add fields under the setting cog.
Enter your posting date – this is likely to be the date of the transaction.
Document type- you can choose, payment, invoice, credit memo, finance charge memo, reminder or refund.
You can leave it blank.
Enter a document no.
Account type – this is were you can identify what kind of account you want to post to as I mentioned first it does not have to be a bank account.
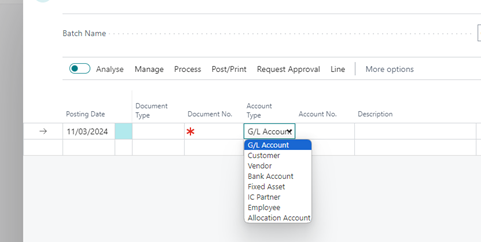
The options for account type are G/L Account, Customer, Vendor, Bank Account, Fixed Asset, IC Partner, Employee or Allocation Account.
This is the same for the Bal.Account Type field.
Choose your account type and the relevant account number.

Enter the description (this could be say the payee name) and the amount.
Then choose the Bal.Account Type and the Bal.Account number.
So if you were posting a customer receipt that has been come into the bank, you would choose Account type customer and the Bal.Account type as bank account.
Click Post/Print from the top ribbon
The Preview Posting.
You will see exactly where and how your journal is going to post.
Once happy click Post.